 These are my TOP 5 picks of the week for Halloween....HAVE FUN!!!!!!!
1. Pumpkin Tin Man
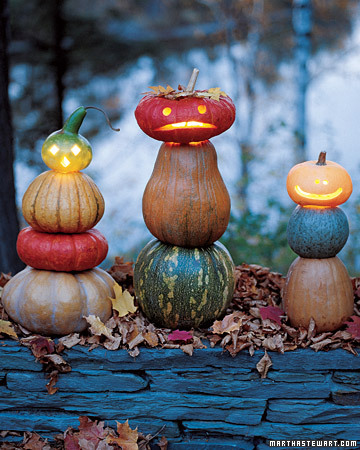
2. Jack O Lanterns Stand Tall
3. Bubble Popping Ball Player Pumpkin
4. Pumpkin Candle Holders
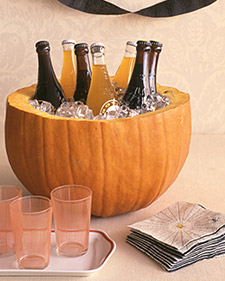
5. Pumpkin Cachepots


|
 |
 These are my TOP 5 picks of the week for Halloween....HAVE FUN!!!!!!!


| Mix all the ingredients together in a bowl. Cut the cookies out with cookie cutters or flatten balls to form a cookie shape. Bake at 350'F (180'C)for 10-12 minutes. Allow to cool. Use 1-2 per bath by adding them to running water. Wrap these in | ||||
| air tight packaging or seal them in an airtight container. These cookies will last several months maybe longer. | ||||


 Mini Glitter Pumkins


Tools and Materials
Christmas lights
Any silk faux flowers with removable plastic stems and centers
Scissors
Tape
Flower Party Lights How-To
1. Choose faux flowers with removable plastic stems and centers. Pull heads off stems.
2. Use scissors to enlarge the hole in the flower head to 1/4 inch, so that it fits over the base of the lightbulb.
3. Push petals over a lightbulb, making sure petals are away from the bulb.
4. Use tape to secure flower to plastic portion of each light and hold it in place.
5. Place light strand in desired location for decoration.

 Wicker Rocking Chair Craft
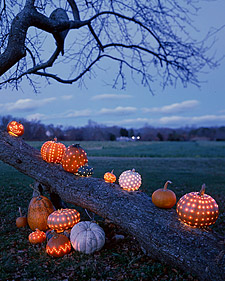

 Berry Basket Favors Craft

DIRECTIONS
1. Use a foam brush to apply acrylic paint evenly over pumpkin.
2. While paint is still wet, run a rubber comb around the pumpkin. Start from the stem and work from top to bottom. As an alternative to painting and combing, use a broad-tip marker to draw spirals or dots on the pumpkins, or go a little wild by drawing random lines in contrasting colors.
3. When paint or ink is dry, spray with a polyurethane glaze as a protective finish.
MATERIALS
Miniature pumpkins in varying sizes and shapes
Foam brush
Acrylic paint
Rubber comb (available from craft stores)
Broad-tip permanent markers
Polyurethane glaze

 For my first craft blog, I thought this was truly cool. For Halloween you could call it the " Ghost Pumpkin", and it also works for Thanksgiving if you dress it up with candles and silver accents.
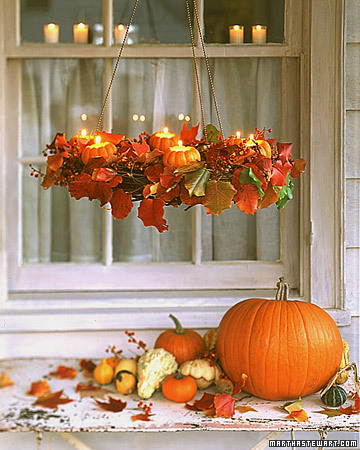